Radio Altimeter Test Set: Functions, Usage, and Interference Solutions
The radio altimeter is a crucial piece of equipment in modern aviation, used to measure the distance between an aircraft and the ground. Unlike conventional barometric altimeters, which rely on atmospheric pressure to determine altitude, radio altimeters use radio waves to provide accurate altitude readings, especially during low-altitude flights. To ensure that these instruments perform accurately and reliably, they need regular testing, typically using a radio altimeter test set. In this article, we will delve into what a radio altimeter test set is, how to use it, common types of interference encountered during testing, and how to prevent these interferences for accurate results.
What is a Radio Altimeter Test Set?
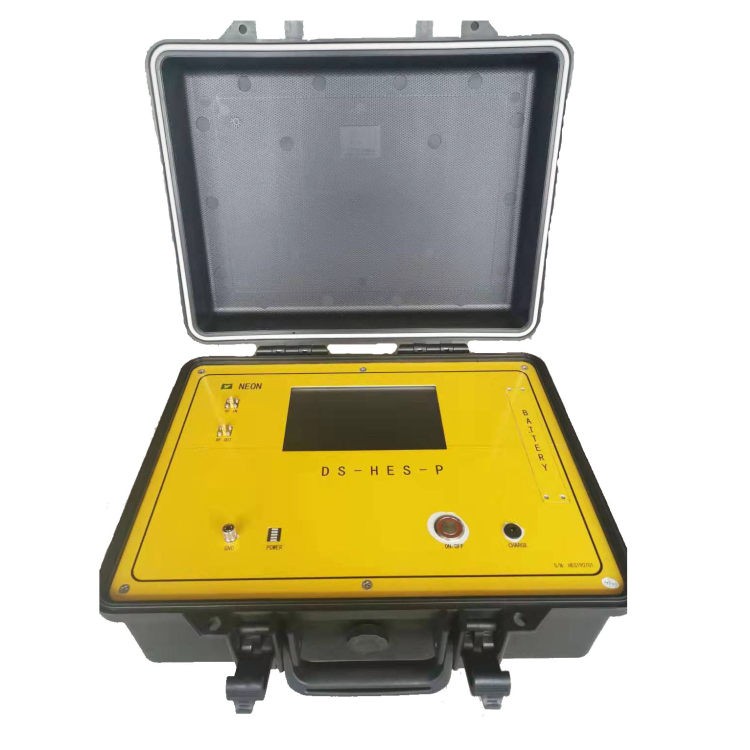
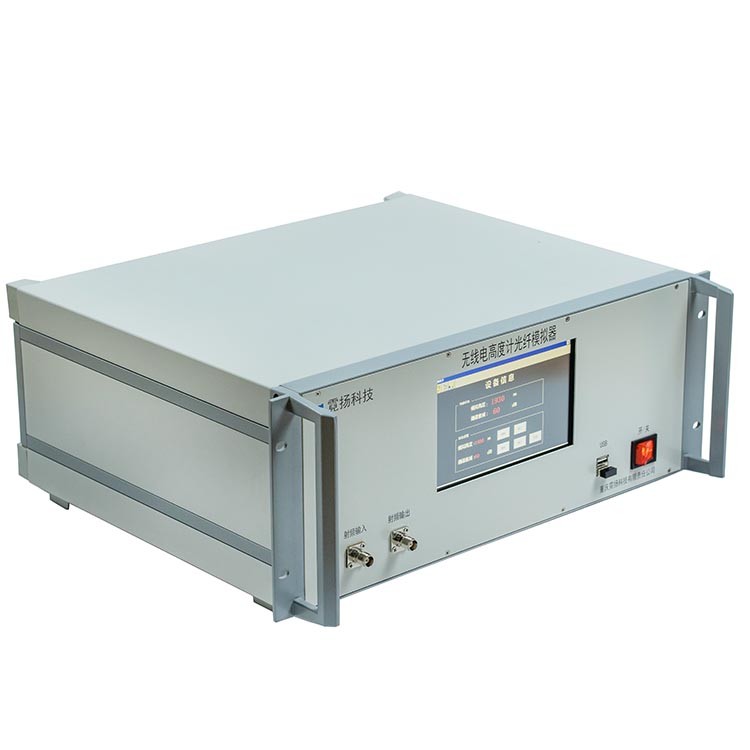
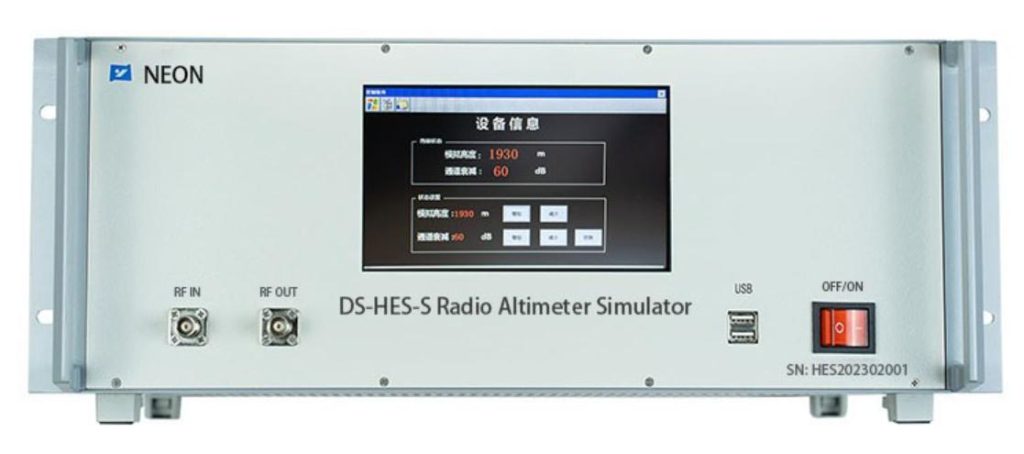
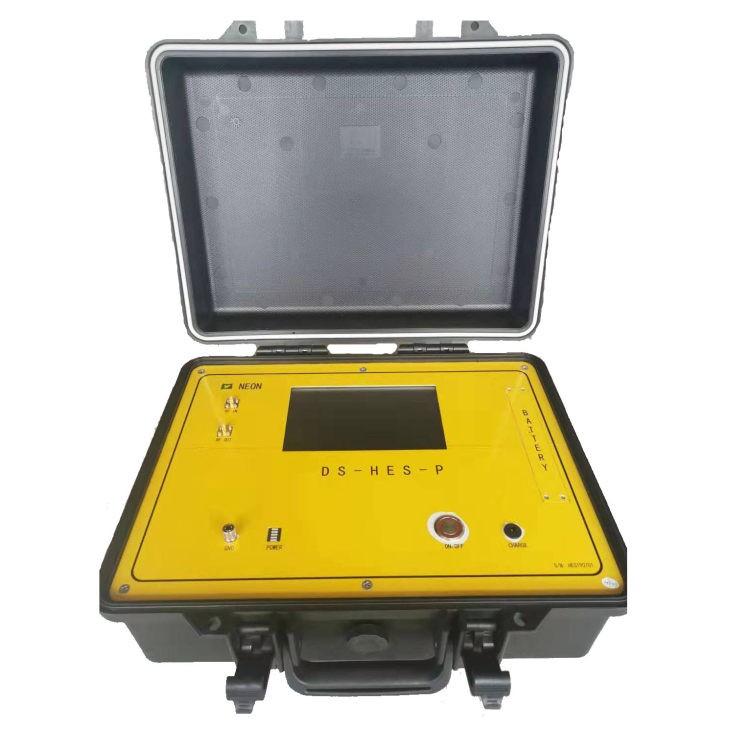
A radio altimeter test set is a specialized testing device used to evaluate the performance, functionality, and accuracy of a radio altimeter system. The altimeter system, which is integral to both commercial and military aircraft, operates by sending a radio signal from the aircraft towards the ground. This signal is reflected off the ground and received back by the system, which then calculates the altitude based on the time delay between transmission and reception.
The test set simulates different altitude scenarios by generating signals that mimic ground returns at various altitudes. This enables the user to assess the system’s response and ensure it performs correctly, without needing the aircraft to be in flight. The test set checks not only the accuracy of altitude readings but also the health of the entire radio altimeter system, ensuring no degradation in signal quality, power, or performance.
Key Features of a Radio Altimeter Test Set
- Simulates Ground Reflections: The test set generates signals that the radio altimeter interprets as ground reflections, allowing it to simulate flight conditions.
- Assess System Performance: It evaluates the radio altimeter’s ability to accurately detect altitudes and report them to the cockpit instruments.
- Verification of Accuracy: The test set helps verify the accuracy of altitude readings at different simulated heights.
- Testing Without Flight: The test can be conducted on the ground, reducing the need for in-flight testing, which is more costly and time-consuming.
- Compatibility Checks: Many modern test sets are compatible with various types of radio altimeters, making them versatile tools for aviation maintenance teams.
Given that radio altimeters are a critical part of low-altitude navigation and automatic landing systems, ensuring they work properly is essential for flight safety, especially during conditions like fog, night flights, or adverse weather when visual reference to the ground is poor.
How to Use a Radio Altimeter Test Set?
Using a radio altimeter test set requires precision and adherence to standard operating procedures. The testing process typically involves several steps to ensure the altimeter’s full range of capabilities is checked, including both manual and automated systems testing. Below are the key methods involved in testing a radio altimeter system using a test set:
Step 1: Set Up the Test Set
Before any testing begins, the test set must be properly connected to the radio altimeter system. This may require:
- Ensuring physical connection between the test set and the radio altimeter antennas on the aircraft.
- Powering on the test set and selecting the appropriate configuration for the radio altimeter being tested.
- Calibration of the test set to ensure its internal systems are functioning accurately and are prepared to generate the correct test signals.
Step 2: Simulate Altitudes
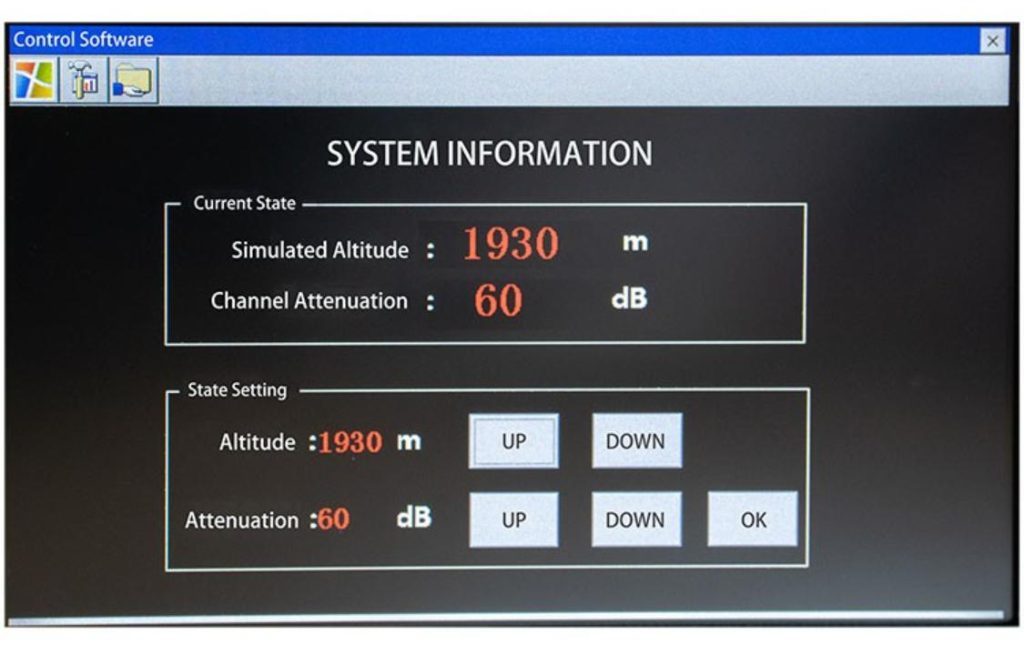
The radio altimeter test set is capable of simulating different altitudes. By programming specific altitude scenarios (e.g., 100 feet, 500 feet, or higher altitudes), maintenance personnel can observe how the radio altimeter responds to these signals:
- Low altitude tests are particularly important, as the radio altimeter is most critical for landing and takeoff scenarios.
- Incremental altitude changes allow testing of the system’s ability to measure and respond to gradual changes in height above the ground.
Step 3: Evaluate the Radio Altimeter Response
As the test set simulates various altitudes, the response of the radio altimeter is carefully monitored:
- Check cockpit displays: The altimeter reading shown on cockpit instruments should accurately reflect the altitude simulated by the test set.
- System response: Any delays, inaccuracies, or unexpected behaviors are noted and can indicate potential issues within the system.
Step 4: Conduct Functional Tests
Beyond simply checking accuracy, functional testing is essential:
- Signal strength tests ensure that the radio waves transmitted by the altimeter are strong enough to be accurately received and processed.
- System health checks look for potential degradation in the radio frequency (RF) components, such as worn or damaged cables and antennas.
- Alarm and warning verification: If the radio altimeter detects any altitude discrepancies or system malfunctions, it should trigger appropriate alarms or warnings to alert the flight crew.
Step 5: Record and Analyze Data
After testing, the results are typically documented for further analysis. Any discrepancies or issues are flagged, and if necessary, the altimeter system may undergo further maintenance or recalibration to address potential problems.
What are the Common Types of Interference during Radio Altimeter Testing?
Interference can significantly affect the accuracy and reliability of a radio altimeter, and this interference can occur both during normal operations and while testing the system. Several types of interference are commonly encountered during radio altimeter testing:
1. Radio Frequency (RF) Interference
Radio altimeters operate in a specific frequency band, typically between 4.2 to 4.4 GHz. However, nearby RF devices that operate in similar frequency ranges can cause interference. These include:
- Wireless communication devices: Mobile phones, Wi-Fi routers, and other communication equipment can introduce noise into the altimeter’s frequency range, disrupting the signals.
- Ground-based RF sources: During testing on the ground, other nearby radar or radio systems may interfere with the test signals being sent by the test set.
2. Multipath Interference
Multipath interference occurs when radio signals reflect off multiple surfaces (e.g., aircraft structures, nearby buildings, or other obstacles) before reaching the radio altimeter’s receiver. This can lead to:
- Signal delays: Causing inaccurate altitude readings.
- Distorted signals: This may cause the system to misinterpret the actual altitude.
3. Electromagnetic Interference (EMI)
Electromagnetic interference is caused by nearby electrical equipment or power systems that generate electromagnetic fields strong enough to affect radio altimeter signals. Sources of EMI can include:
- Aircraft systems: Other electrical systems onboard the aircraft that operate during testing, such as radar, engines, or avionics systems.
- External sources: Ground power units or maintenance equipment in the vicinity of the aircraft.
4. Environmental Factors
Environmental conditions can also affect testing accuracy:
- Weather conditions: Atmospheric factors like heavy rain or humidity can sometimes interfere with radio signal propagation.
- Physical obstructions: Buildings, trees, or even nearby vehicles can block or reflect signals, causing inaccurate readings during ground testing.

How to Prevent Interference during Radio Altimeter Testing?
Preventing interference is critical to ensure that radio altimeter test results are accurate and reliable. Several measures can be taken to minimize interference during testing:
1. Isolate the Testing Environment
Conducting tests in a controlled environment is crucial for minimizing interference. This can involve:
- Shielded testing areas: Some facilities have specialized shielded enclosures designed to block external RF and EMI sources during testing.
- Minimizing external RF sources: Reducing the use of nearby electronic devices that could generate interfering signals.
- Proper grounding: Ensuring that the test equipment and aircraft systems are properly grounded to reduce EMI.
2. Use of Bandpass Filters
Bandpass filters can be employed to ensure that only the specific frequency band used by the radio altimeter is analyzed during testing. This helps:
- Filter out unwanted signals: From nearby RF devices or multipath reflections, improving the clarity of the radio altimeter signals.
- Enhance signal accuracy: By focusing solely on the frequencies relevant to the altimeter’s operation.
3. Conduct Testing at Off-Peak Times
In busy environments, such as airports or maintenance facilities, testing during off-peak hours can minimize external interference from other operating systems. This includes:
- Reducing nearby air traffic: During testing to limit interference from other aircraft systems.
- Minimizing maintenance activity: From other teams using electrical tools or equipment that might cause EMI.
4. Regular Calibration of Test Equipment
Regularly calibrating both the radio altimeter test set and the altimeter system itself ensures that:
- The test set is functioning optimally, without introducing its own errors into the testing process.
- The altimeter system continues to operate within its expected parameters, reducing the chance of misreadings due to internal system issues.
The radio altimeter is an essential tool for safe flight operations, particularly during low-altitude maneuvers. To ensure that these devices provide accurate and reliable readings, regular testing with a radio altimeter test set is necessary. By understanding the common methods of testing, being aware of potential sources of interference, and taking appropriate preventative measures, maintenance personnel can ensure that these systems operate effectively, safeguarding both crew and passengers.


